A:Step 1:
Please make sure your BIOS is latest version, and keep the default UEFI setting of "Dual Graphics" option on [Auto].
BIOS download link:
https://www.asrock.com/support/download.asp
Step 2:
Install one AMD RADEON PCI Express graphics card to PCIE slot.
Step 3:
Connect the monitor cable to the onboard VGA port. Please be noted that the current VGA driver / VBIOS can allow Dual Graphics output from onboard display only.
For any future update, please refer to our website for further information.
Step 4:
Boot into OS.
Then please remove the AMD driver if you have any VGA driver installed in your system.
Step 5:
Install the onboard VGA driver from our support CD to your system for both the onboard VGA and the discrete graphics card.
Step 6:
Restart your computer. Right-click the desktop. Click "AMD VISION Engine Control Center" to enter AMD VISION Engine Control Center.
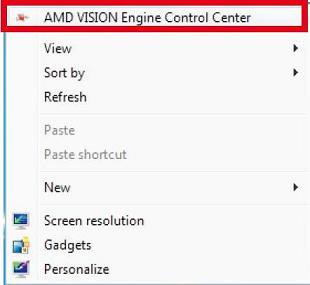
Step 7:
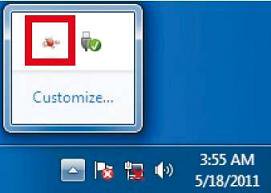
You can also click "AMD VISION Engine Control Center" on your Windows taskbar to enter AMD VISION Engine Control Center.
Step 8:
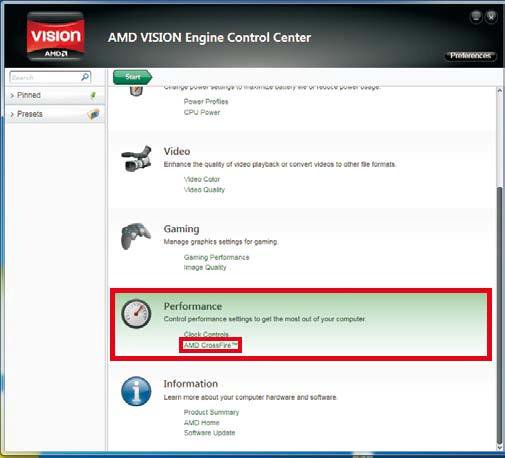
In AMD VISION Engine Control Center, please choose "Performance". Click "AMD CrossFireTM".
Step 9:
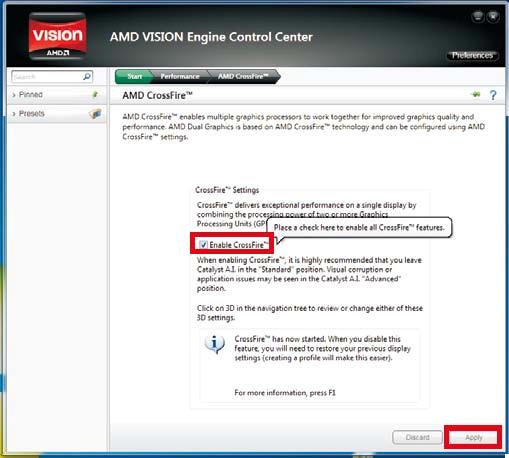
Click "Enable CrossFireTM" and click "Apply" to save your change.
Step 10:
Reboot your system. Then you can freely enjoy the benefit of Dual Graphics feature.
 เมนู
เมนู