A:Step 1:
Please make sure that you have installed the latest BIOS and two 1866MHz or higher frequency memory modules in dual channel.
Also keep the default UEFI setting of "Dual Graphics" option on [Auto].
BIOS download link:
https://www.asrock.com/support/download.asp
Step 2:
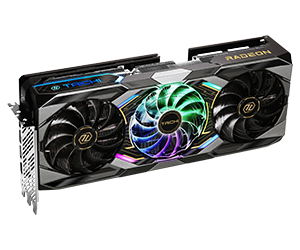
Install one AMD RADEON PCI Express graphics card to the PCIE slot.
Step 3:
Connect the monitor cable to the onboard VGA port. Please note that the current VGA driver / VBIOS allows Dual Graphics output from the onboard display only.
For any future update, please refer to our website for further information.
Step 4:
Boot into the OS.
Then please remove the AMD driver if you have any VGA driver installed in your system.
Step 5:
Install the onboard VGA driver from our support CD to your system for both the onboard VGA and the discrete graphics card.
Step 6:
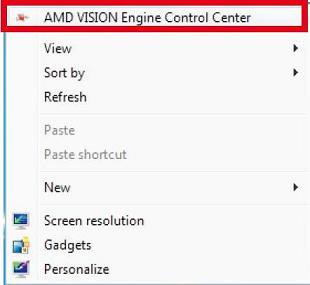
Restart your computer. Right-click the desktop. Click "AMD VISION Engine Control Center" to enter AMD VISION Engine Control Center.
Step 7:
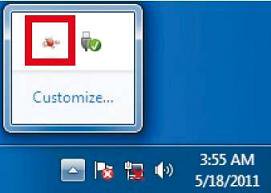
You can also click "AMD VISION Engine Control Center" on your Windows taskbar to enter AMD VISION Engine Control Center.
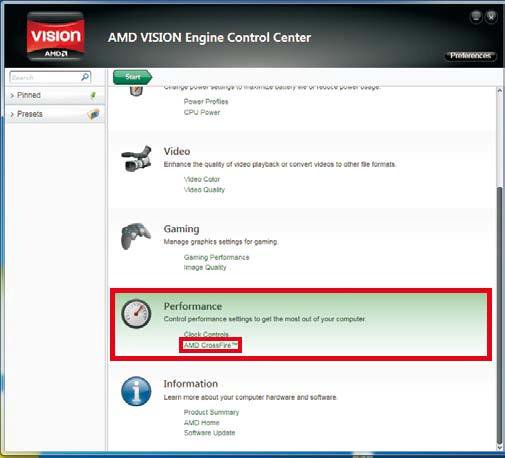
Step 8:
In AMD VISION Engine Control Center, please choose "Performance". Click "AMD CrossFire™".
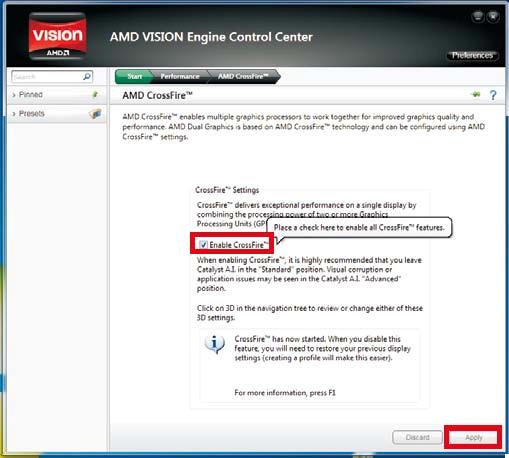
Step 9:
Click "Enable CrossFire™" and click "Apply" to save your change.
Step 10:
Reboot your system. Then you can freely enjoy the benefit of Dual Graphics feature.
 Thực đơn