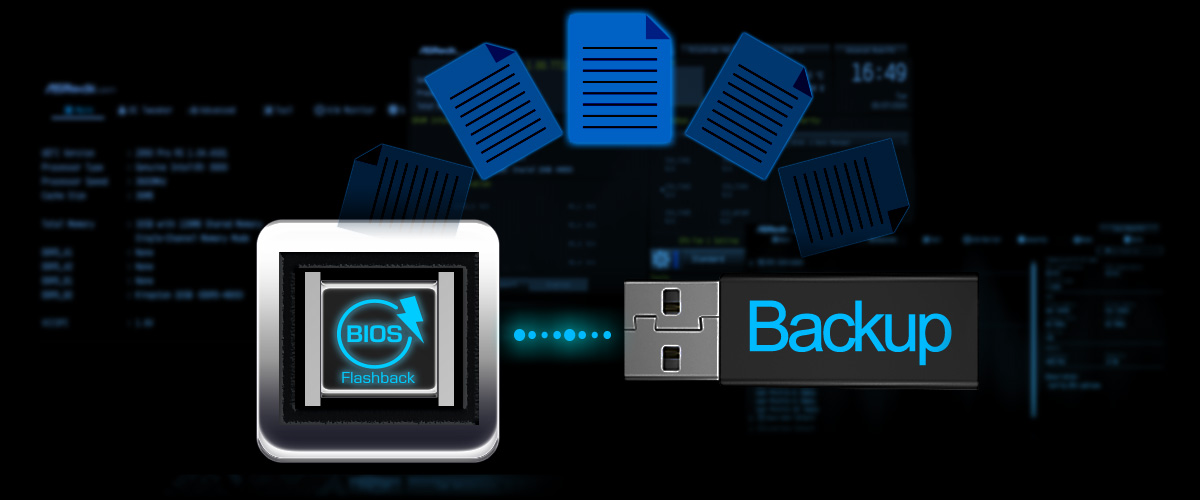
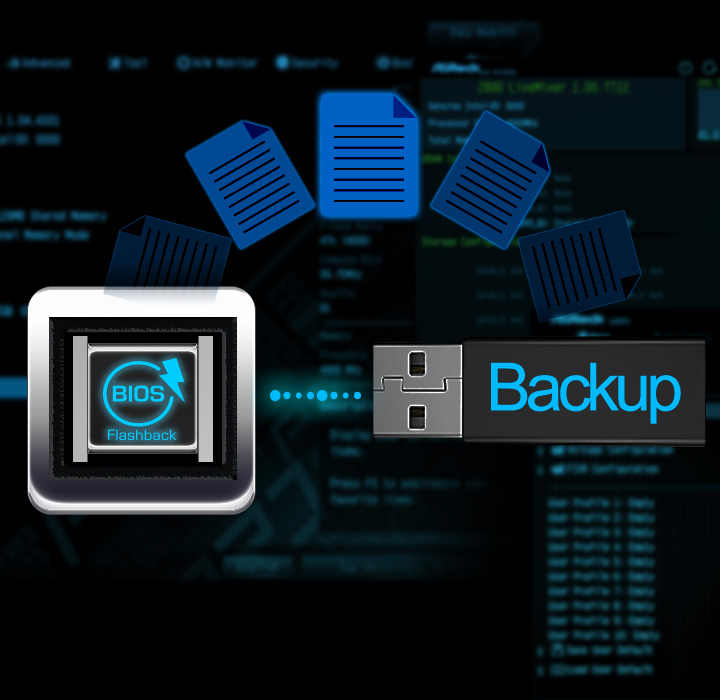
Main Header Main Header

Why It Matters

To support the latest CPUs, your motherboard often needs a BIOS update. Gerenal speaking, you couldn't update the BIOS without a CPU already installed and working—which is impossible if the motherboard doesn't recognize your new processor yet.

How It Works

ASRock BIOS Flashback lets you update the BIOS with just a USB drive and power supply.

No CPU required.
No RAM required.
No Graphics Card required.

Simply plug the USB into the specific port and press the button.

BIOS Flashback BIOS Flashback

Key Benefits

ASRock BIOS Flashback removes the technical hurdles of PC building. Whether you are upgrading to a new generation or maintaining your system, it offers a worry-free experience through three core advantages

Key Benefits Key Benefits

How to upgrade BIOS with BIOS Flashback

Step-by-Step Guide

1. Download the latest BIOS file from ASRock's website: https://www.asrock.com/support/index.asp?cat=BIOS
2. Copy the BIOS file to your USB flash drive. Please make sure the file system of your USB flash drive must be FAT32
3. Extract BIOS file from the zip file
4. Rename the file to “creative.rom” and save it to the root directory of X: USB flash drive
5. Plug the 24 pin power connector to the motherboard. Then turn on the power supply's AC switch
*There is no need to power on the system
6. Then plug your USB drive to the USB BIOS Flashback port
7. Press the BIOS Flashback Switch for about three seconds. Then the LED starts to blink
8. Wait until the LED stops blinking, indicating that BIOS flashing has been completed

LED Troubleshooting

If the LED light turns solid green, this means that the BIOS Flashback is not operating properly. Please make sure that you plug the USB drive to the USB BIOS Flashback port

If the LED does not light up at all then please disconnect power from the system and remove/disconnect the CMOS battery from the motherboard for several minutes. Reconnect power and battery and try again